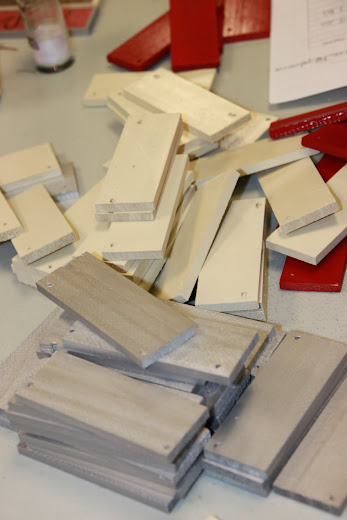
As you can tell from the looks of things around here this blog is a work in progress. I told you about how
we won a blog makeover giveaway and Elana is working hard at keeping up with all our edits, suggestions and ideas. Bless her heart...
As I started thinking about posting for this week I really was at a loss. I haven't completed anything new and exciting. I have projects that aren't "good enough" to share with you and I have partially finished rooms all over my house that I'm just not ready to show the blog world yet. So, what to do, what to do?
That's when it hit me... I live in a state of "work in progress". Me, my house, my kids, my relationship with my husband. It's all a work in progress.
The other night some friends of mine were talking about our stresses, failures, challenges and successes as mothers to young kids. We questioned "are we doing it well?" "do our kids know we love them?" "am I spending enough time with them?". The answers to those questions change daily. I was reminded that as a mother I am a work in progress. I don't have it all together, I don't do it right every day, I have areas for improvement, and I definitely have quirks that I'm just not ready to show the blog world yet.

I have three precious kids who are also works in progress. The Lord has granted me (and my hubby) the opportunity to teach them right from wrong; how to be honest, caring and trustworthy; and most importantly to teach them about His great love for us and our redemption through Christ. I have to do all this at the same time I am trying to figure out personalities and sensitivity buttons and the right form of discipline for each child. It's a lot of responsibility - but I am up for the challenge.

I have a husband who is crazy supportive of what I do and what I try to do! :) He knows my faults, insecurities, and all my hidden (at least from you virtual friends) quirks and loves me anyway. But I can't ever assume that our relationship is 'good enough'. It needs to always be something I am working to improve and strengthen.
Are you a work in progess too?

So, while I'd like to show you my latest masterpiece or grand idea, it's just not going to happen today. Today is a reminder that sometimes our "work in progress" sign reveals itself. It's nothing to be ashamed of. You are welcome here!
My name is Lindsay, and I am a work in progress. I challenge you to think about it today... what needs improvement around you? Self; relationships with kids, spouse, friends; relationship with the Lord; or maybe it really is your home and surroundings.
Yet you, LORD, are our Father;
We are the clay, you are the potter;
We are all the work of your hand.
Isaiah 64:8


